This tutorial will cover setting up your Nodes.js LoopBack API application with a private Bitbucket repository and Jenkins CI for your continuous integration needs. This is a relatively straightforward process, but there are a few points to which you need to pay attention. Let's jump right in.
Prerequisites #
You have Node.js installed
You have git installed
You have a Bitbucket account
LoopBack #
LoopBack is a highly-extensible, open-source Node.js framework
LoopBack allows you to do many things like:
Quickly create dynamic end-to-end REST APIs.
Connect devices and browsers to data and services.
Use Android, iOS, and AngularJS SDKs to easily create client apps.
Add-on components for push, file management, 3rd-party login, and geolocation.
Use StrongLoop Arc to visually edit, deploy, and monitor LoopBack apps.
LoopBack API gateway acts an intermediary between API consumers (clients) and API providers to externalize, secure, and manage APIs.
Runs on-premises or in the cloud
Setup LoopBack #
Since this post is more about integrating LoopBack and Jenkins, we're just going to use the LoopBack example application. Let's get this up and running in a few quick lines.
$ git clone https://github.com/strongloop/loopback-example-app.git
$ cd loopback-example-app
$ npm install
$ node server/server.js
Navigate to http://localhost:3000/explorer. You just created a full-fledged API with documentation and an API explorer in seconds!
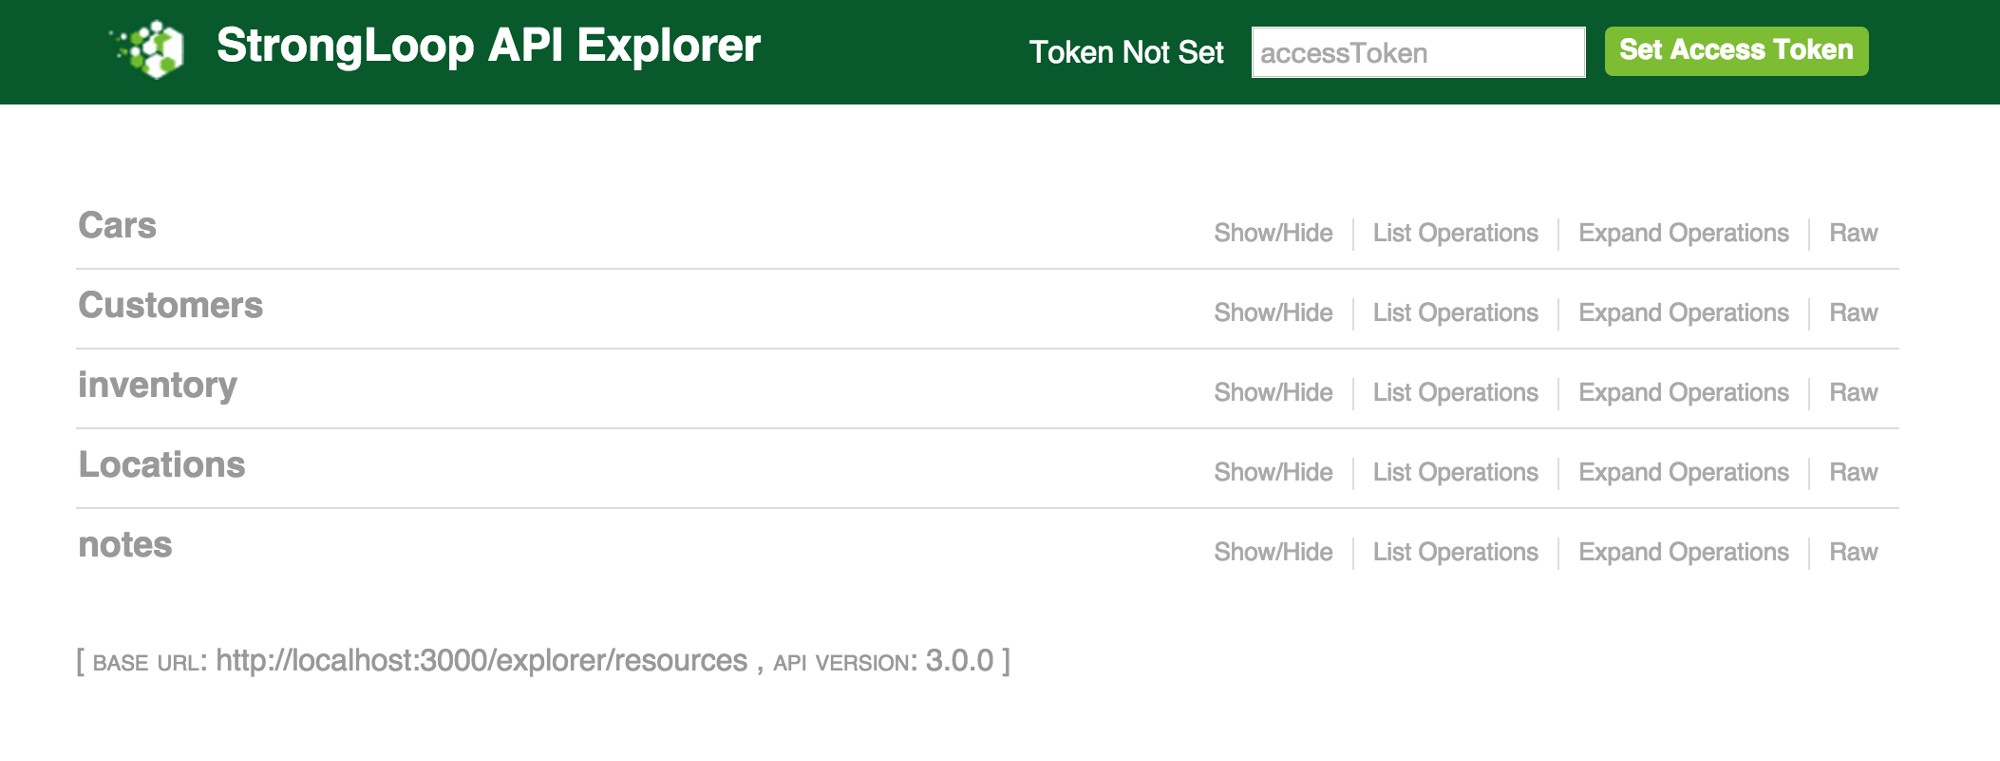
There's much more to LoopBack than this, of course, but this will do for the purpose of the tutorial. In the meantime, check out their documentation for more information on all the amazing things you can do with LoopBack.
Make a test #
Let's make 1 nonsense test for the purposes of our example. We'll be using the very popular Mocha testing framework. First we need to install the mocha package.
$ cd /path/to/loopback-example
$ npm install mocha --save-dev
$ mkdir test
$ $EDITOR test/test.js
Then we add our test.
var assert = require("assert");
describe("Array", function () {
	describe("#indexOf()", function () {
		it("should return -1 when the value is not present", function () {
			assert.equal(-1, [1, 2, 3].indexOf(5));
			assert.equal(-1, [1, 2, 3].indexOf(0));
		});
	});
});
Lastly, we make a slight change to the package.json scripts command to run out test. We don't need jshint for right now and we installed mocha locally to our app.
"scripts": { "test": "./node_modules/mocha/bin/mocha" }Let's run our test.
$ cd /path/to/loopback-example
$ npm test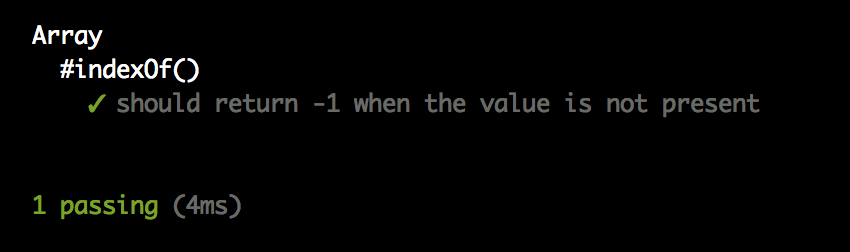
Excellent, we have an API and a passing test! Let's push this to our private Bitbucket repository, then we'll get it working with Jenkins CI.
Create your Bitbucket repository and then push the first commit.
$ cd /path/to/loopback-example
$ git add .
$ git commit -m "Initial commit"
$ git remote add bitbucket [email protected]:myusername/loopback-example.git
$ git push -u bitbucket --all
Alright, we are ready to move on to Jenkins.
Jenkins CI #
Jenkins is an award-winning application that monitors executions of repeated jobs, such as building a software project or jobs run by cron.
Setup Jenkins CI #
We're going to make setting up Jenkins CI version 1.602 easy and use the Bitnami application. If you haven't used Bitnami before, they describe themselves as a library of popular server applications and development environments that can be installed with one click. What that means for us is that we don't have to go through the potential pain of installing an application like Jenkins ourselves. We can just download the already preconfigured VM and launch it in Virtualbox.
Download the Jenkins CI VM from Bitnami.
Open up the VM in Virtualbox.
When you launch the application for the first time, you'll be given the default username and password as well as the IP address at which you can access Jenkins CI.
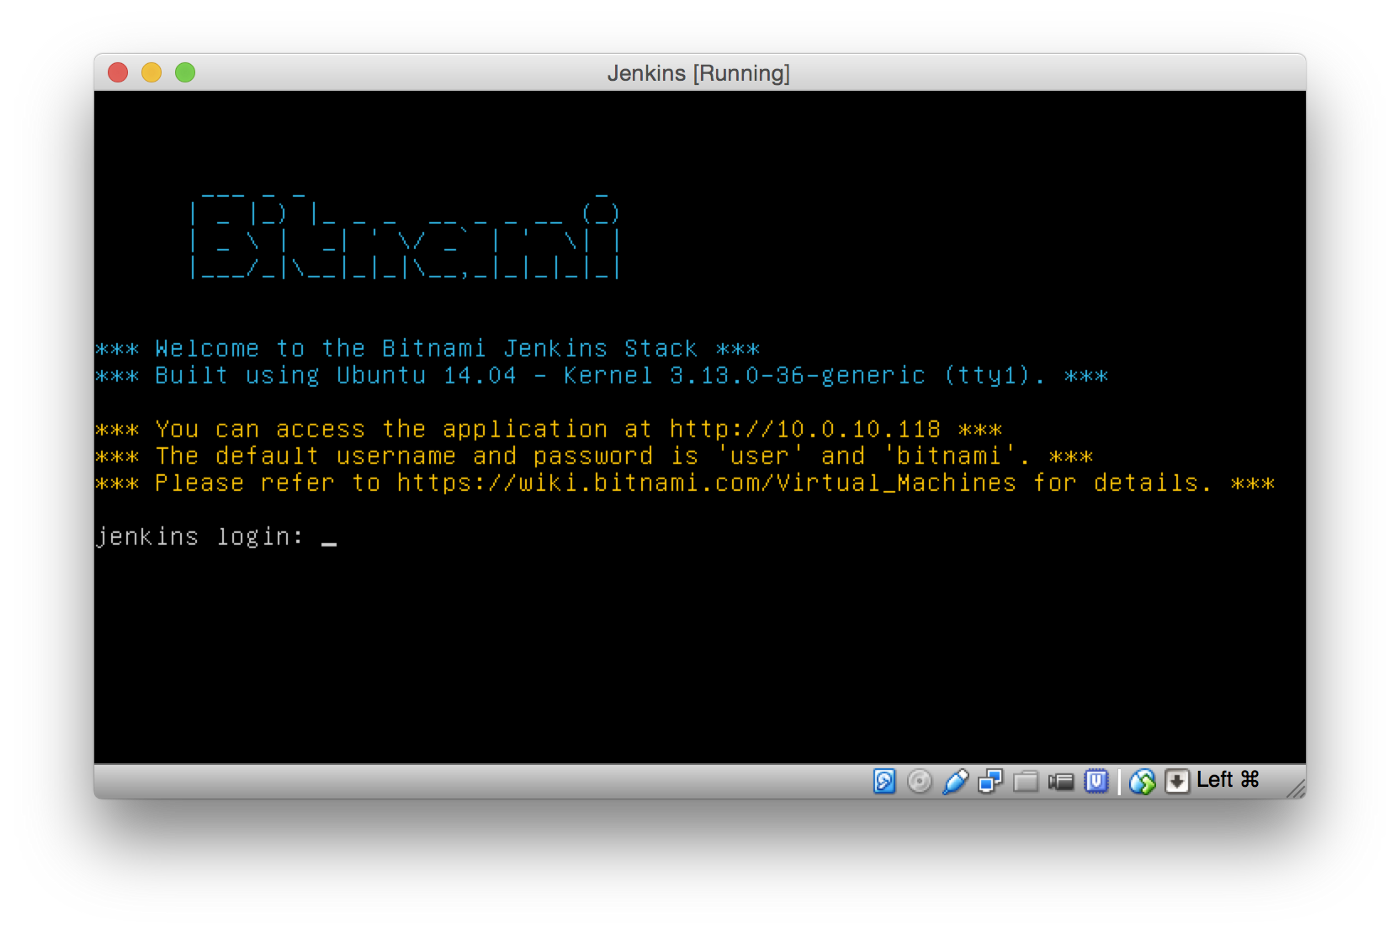
Head to that IP address/jenkins to see your app: http://10.0.10.118/jenkins
Create a Jenkins CI job #
Let's create our Jenkins CI job for our LoopBack application.
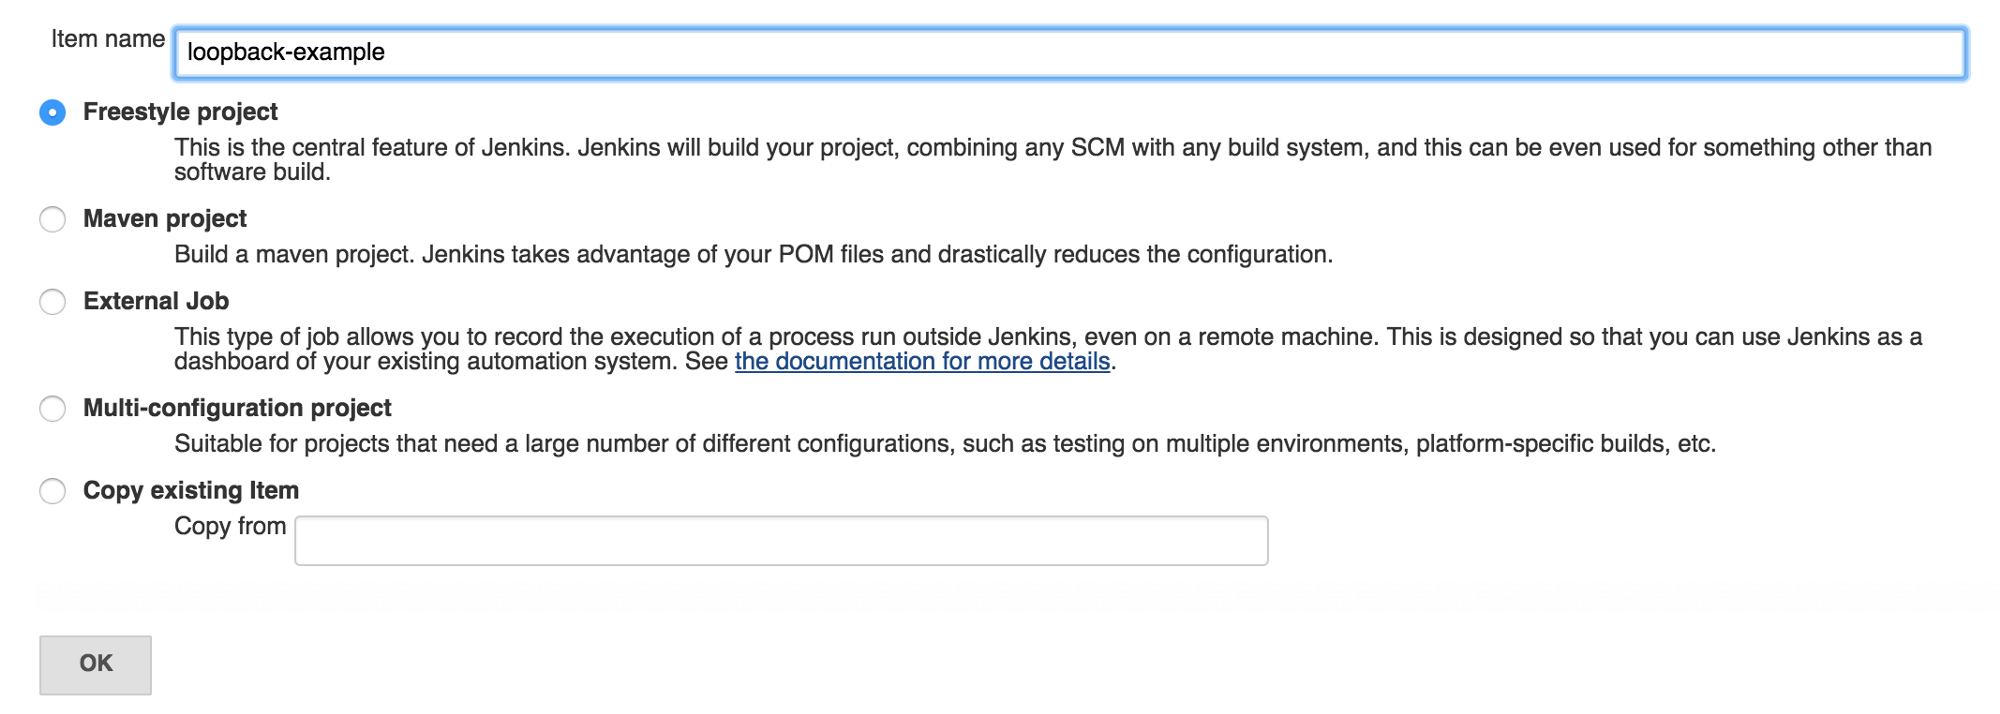
Login and then select New Item from the menu.
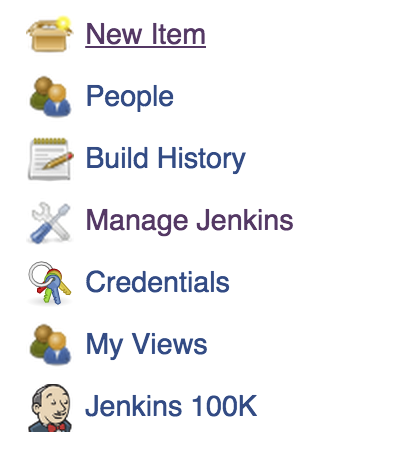
Choose Freestyle Project, enter the name of the project and click ok.
Integrate Jenkins and Bitbucket #
Now we need to setup Jenkins so that it can access our private Bitbucket repository.
Tricky part #1
The Jenkins application in Bitnami runs as the tomcat user.
Despite the fact that this is laid out pretty clearly in the Bitnami documentation, don't get tripped up by the fact that in Bitnami the Jenkins application runs as the tomcat user.
Take a minute to setup the tomcat user with an ssh key as described in the Bitnami documentation for Jenkins.
Now that you have an ssh key for the tomcat user, add that key to Bitbucket so that Jenkins can access the repository.
Alright, now that we setup Bitbucket properly and have our tomcat user ssh key ready, back to Jenkins to configure our job.
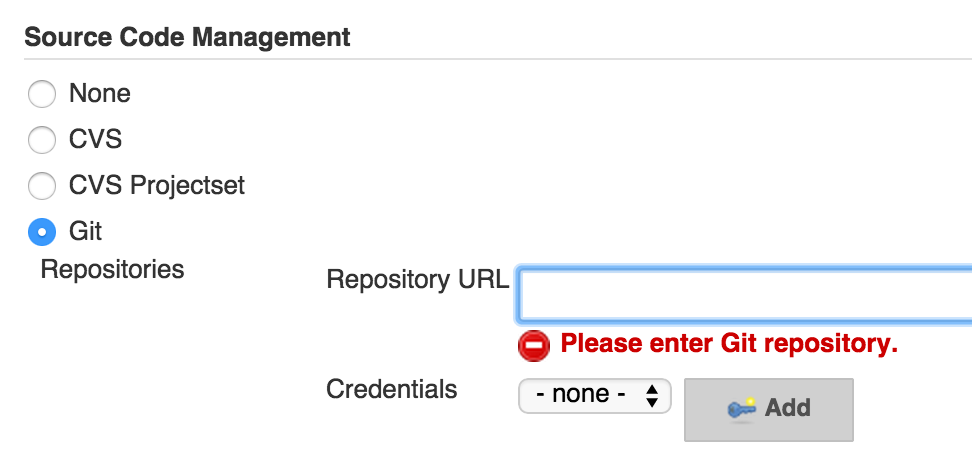
Select Git from the Source Code Management section and click Add next to Credentials.
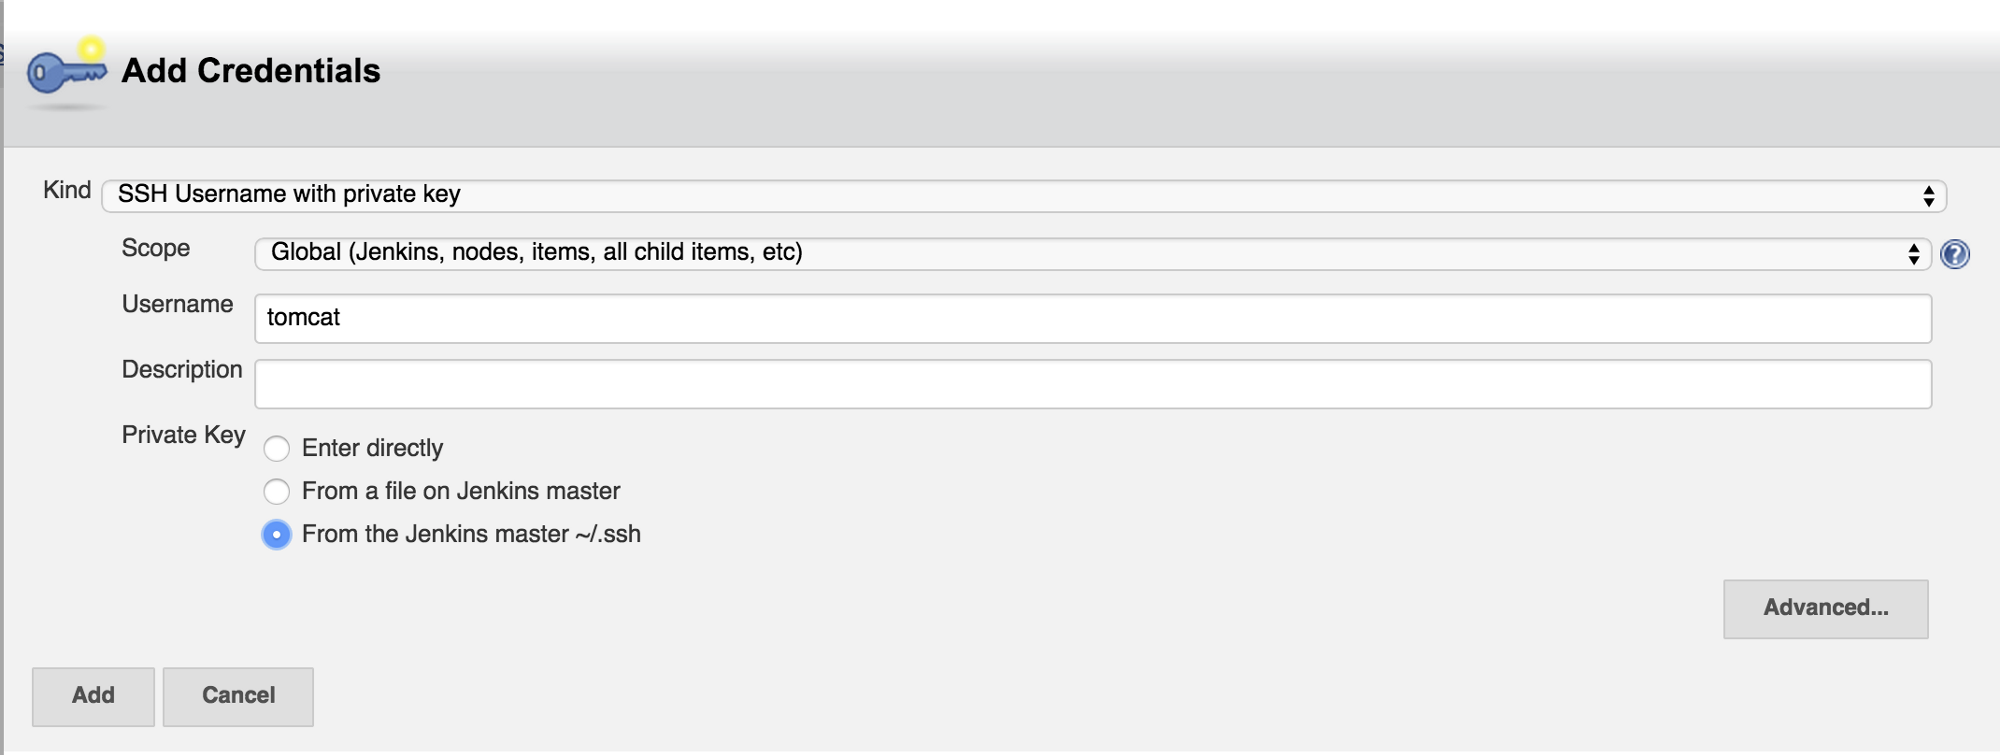
Tell Jenkins to use the ssh key you created for the tomcat user above by selecting SSH Username with private key as the kind of credential, entering tomcat as the username and selecting From the Jenkins master ~/.ssh as the Private Key
Click add, select your credentials from the Credentials dropdown on the main configuration screen and enter [email protected]:myusername/loopback-example.git for the Repository URL.
Build the project #
Now that we're all set with Bitbucket, let's tell Jenkins what to do with our project.
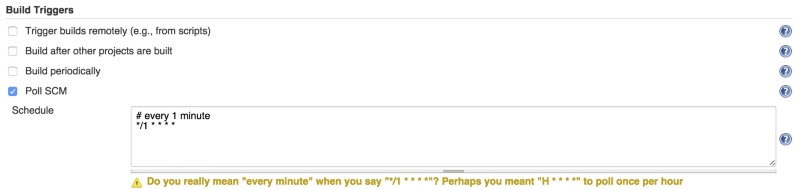
In the Build Triggers section, select Poll SCM and add */1 * * * *. Jenkins will ask you if you're sure you want to check the repository every minute. Adjust as you see fit.
Now we need to actually need to tell Jenkins what to do with our repository when it gets a hold of it. Select Execute shell from the Add Build Step dropdown in the Build section.
Tell Jenkins to install the necessary packages and run our test.
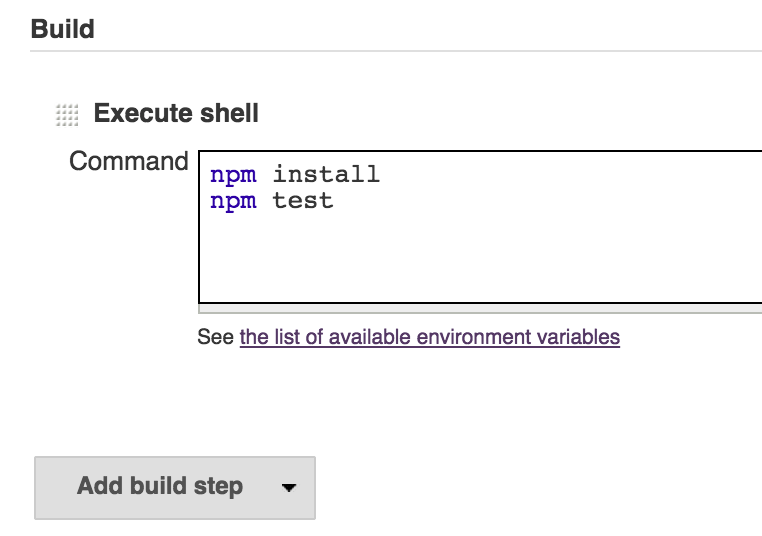
Note*: Don't forget to install Node.js on the Jenkins server!*
Tricky part #2
/usr/local/bin needs to be in Jenkins path or it won't be able to find npm.
You can set Jenkins environment variables directly in the application.
Go to Manage Jenkins->Configure System and add to the Global Properties->Environment Variables section.
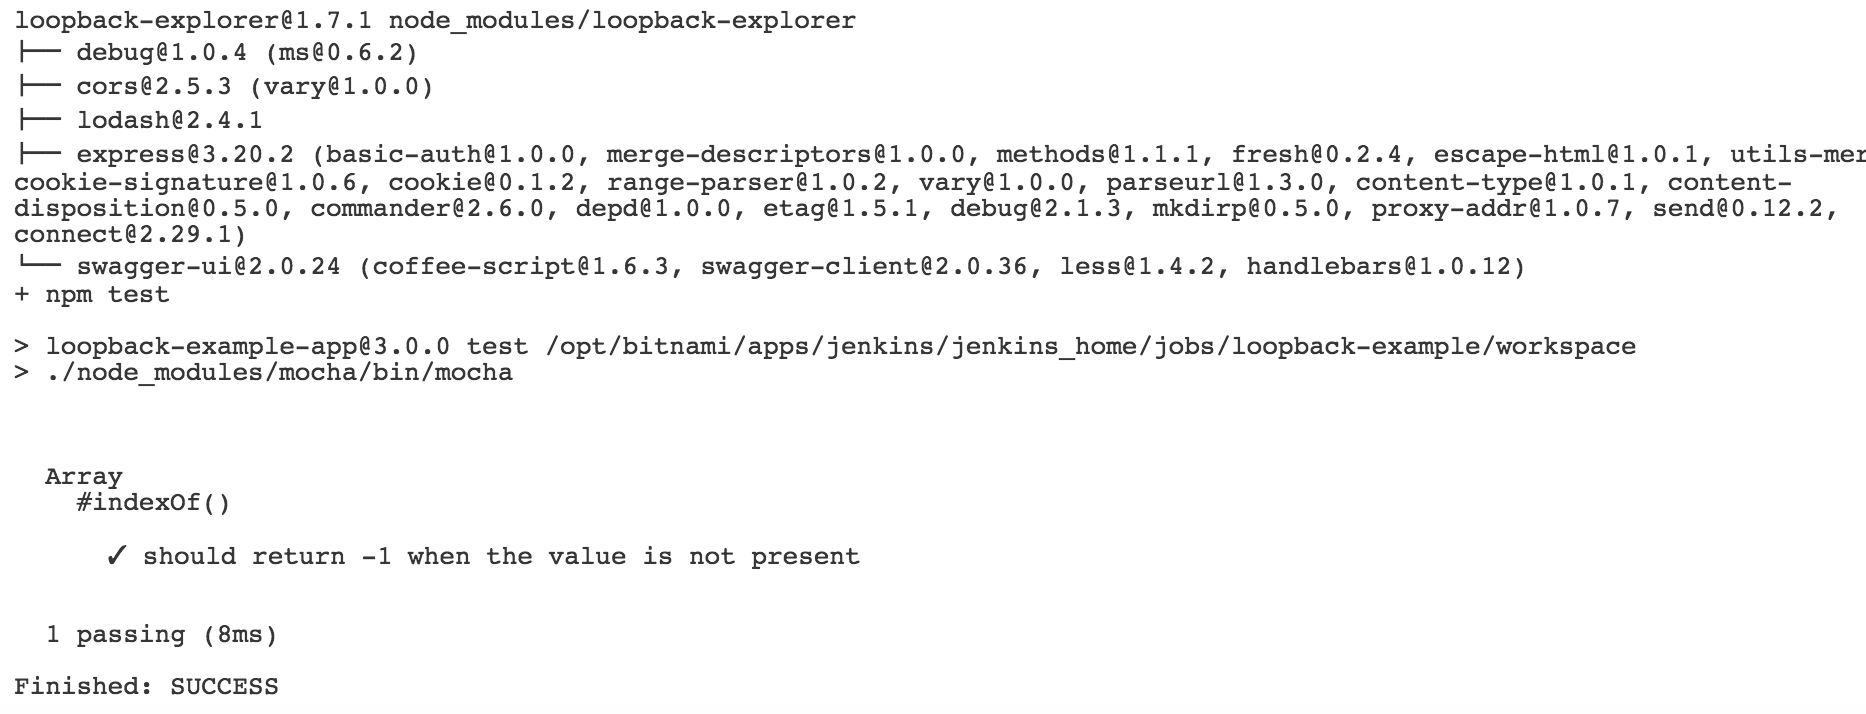
Now, you can either click Build Now in the project menu or wait one minute to have Jenkins poll your repository and build your application.
Soon enough, you'll see some beautiful output in the Console Log window!
Conclusion #
There are a number of steps to get Jenkins setup to work with your private Bitbucket repository and a LoopBack application, but if you know about the tricky parts — which now you do — it shouldn't take you too long.
After you do have it setup, however, Jenkins will build your app every time you push to Bitbucket!